
Quick start
This page builds a small crafting setup from scratch: logs are sawn into planks at a workbench, and planks become a table. It uses the built-in inventory and the example crafting menu. When you have your own inventory, connect it later as described in Inventories.
The example map does all of this already; open /TACraftwright/Examples/Maps/L_CraftwrightExample to compare (see The example map).
-
Add gameplay tags. Open Project Settings > Gameplay Tags and add the tags you need, for example:
Item.Material.WoodStation.WorkbenchItem tags let a recipe ask for “any item with this tag”. Station tags name station types.
-
Create items. In the Content Browser, choose Add > Craftwright > Craftwright Item for each item. Create
Item_OakLog,Item_PineLog,Item_PlankandItem_Table, and set:- Display Name and Icon (a texture; the menu shows it);
- Tags: add
Item.Material.Woodto both logs; - Max Stack: how many fit in one slot of the built-in inventory (default
99).
-
Create recipes. Choose Add > Craftwright > Craftwright Recipe:
Recipe_Planks: under Ingredients add one entry, leave Item empty and set Item Tag toItem.Material.Woodand Count to1. Under Outputs addItem_Plankwith Count3. Set Craft Time to2and, under Where, addStation.Workbenchto Stations.Recipe_Table: IngredientsItem_Plank× 4, OutputsItem_Table× 1, Craft Time5, StationsStation.Workbench.
A recipe with no Stations is crafted by hand. A Craft Time of
0makes it instant. See Items, recipes and books for every property. -
Create a recipe book. Choose Add > Craftwright > Craftwright Recipe Book, name it
Book_Playerand add both recipes to Recipes. -
Give the player a crafter and an inventory. Open your Player Controller Blueprint and add two components:
- Craftwright Crafter: add
Book_Playerto Recipe Books. - Craftwright Player Inventory (the built-in inventory with Owner Only on, so only the owning player receives it): set Slots to
30and add a few logs to Starting Items for testing.
The crafter finds the inventory by itself: it looks on its owner, the owner’s pawn or controller, and the player state. A crafter on the Player Controller, the possessed Pawn or the Player State works in multiplayer; see Multiplayer.
- Craftwright Crafter: add
-
Make a workbench. Create an actor Blueprint with a mesh and add a Craftwright Station component. Set Station Tag to
Station.Workbenchand Display Name toWorkbench. In multiplayer, make sure the actor Replicates. Place it in your level. -
Open the crafting menu. When the player uses the workbench (an overlap, a line trace, an interact key), run this in the Player Controller:
Create Widget (Class: WBP_CraftingMenu, Owning Player: self)→ Setup (Crafter: the Craftwright Crafter, Station: the workbench's Craftwright Station)→ Add to Viewport→ Set Input Mode Game And UI (Widget to Focus: the menu), Show Mouse Cursor = trueBind the menu’s On Menu Closed event to set the input mode back to Game Only and hide the cursor. For hand crafting, call Setup with no station.
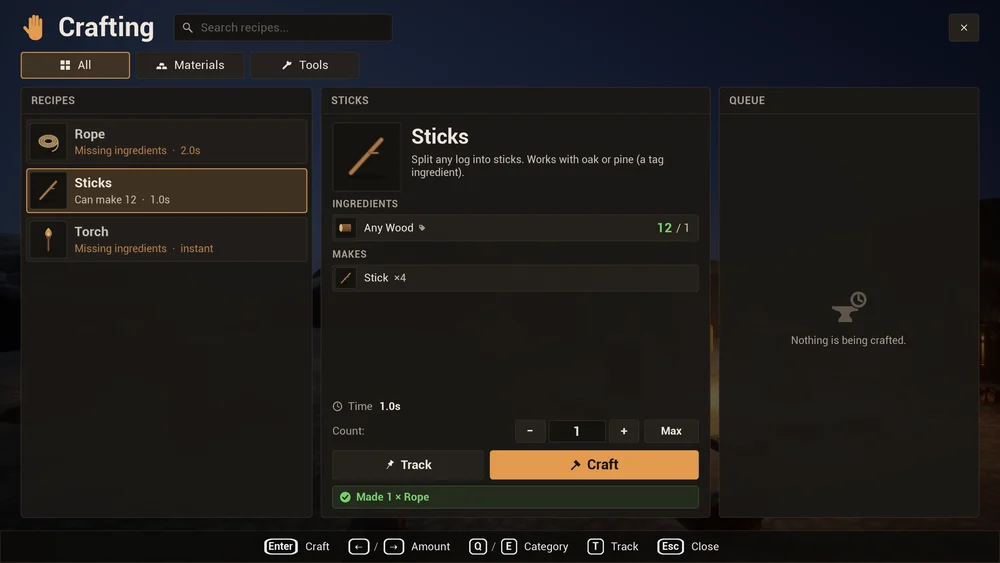
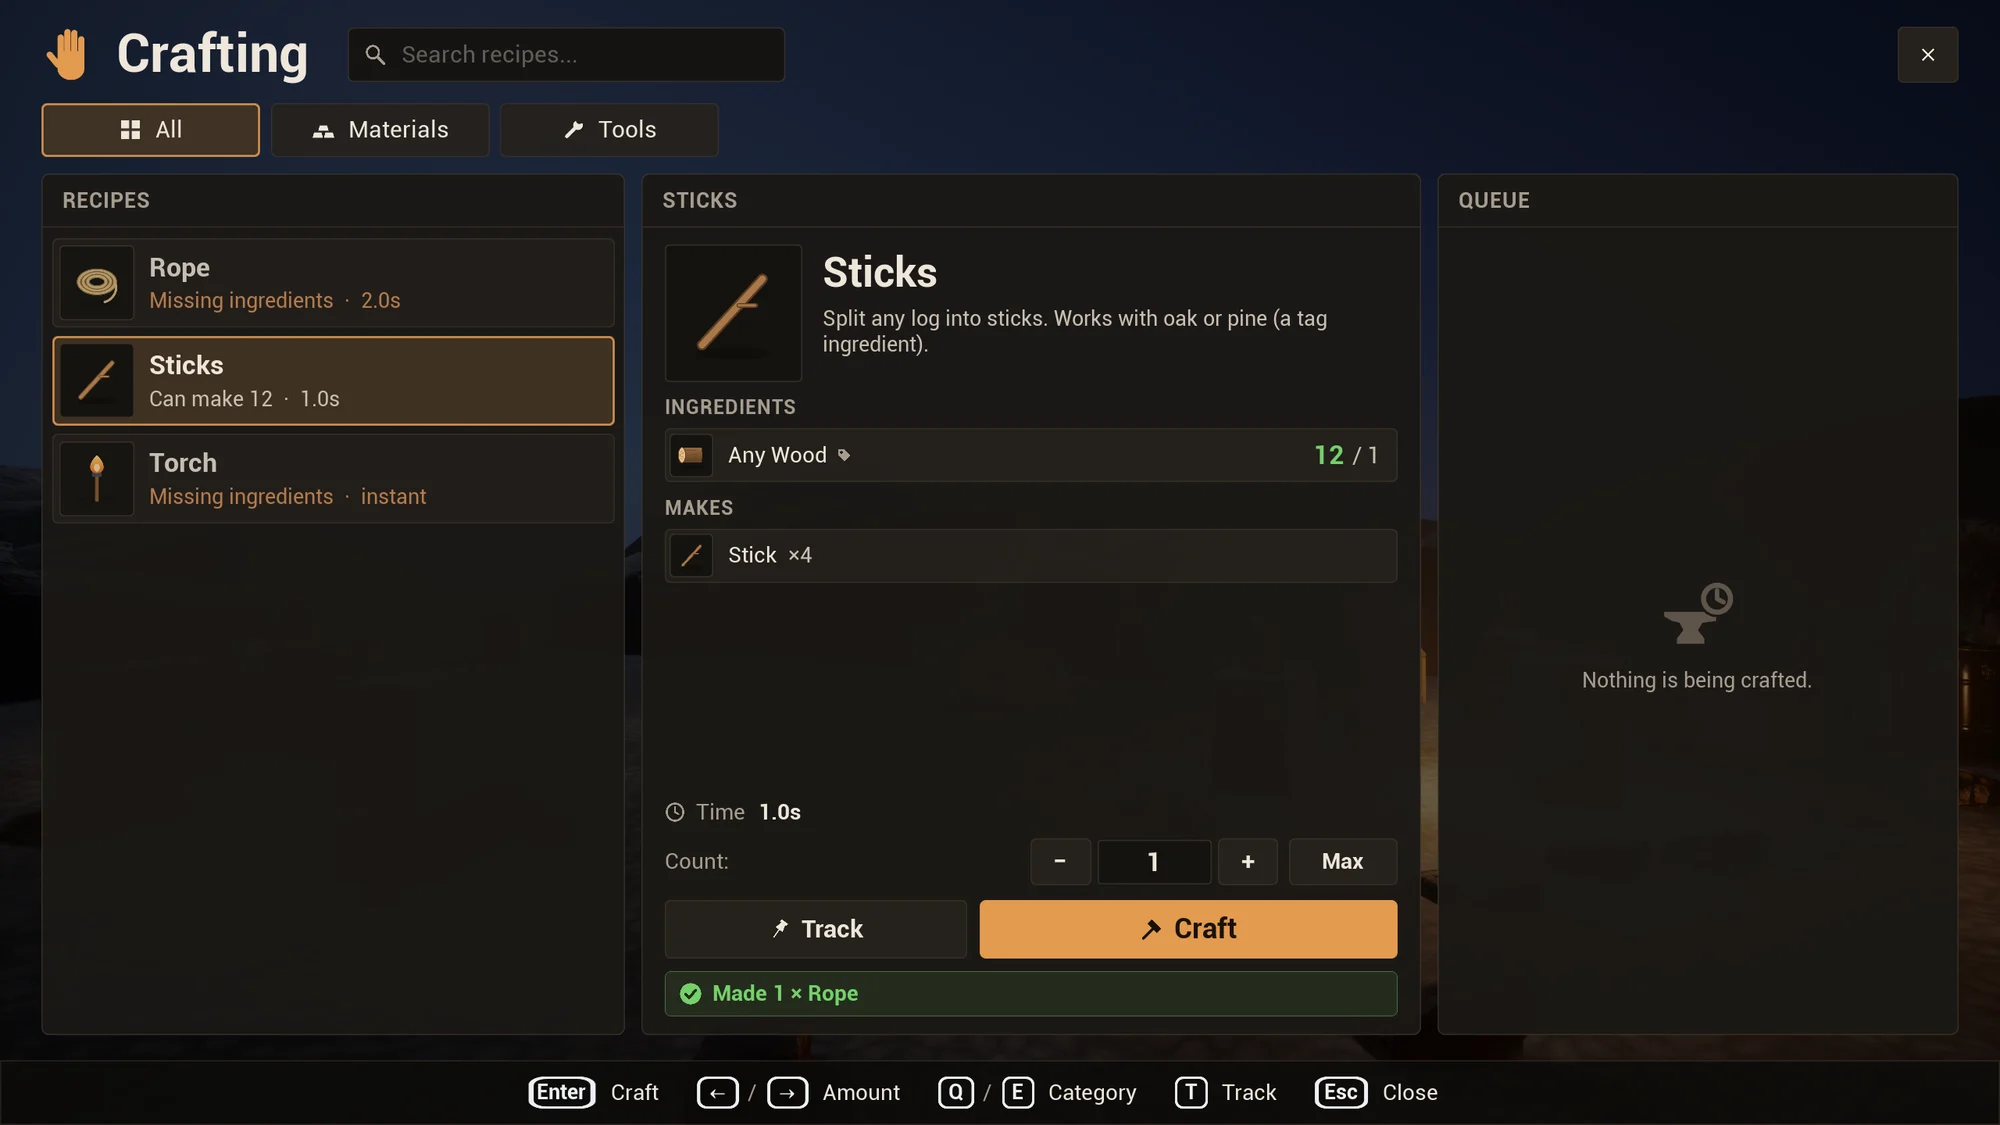
The example's hand-crafting menu: Setup with no station. WBP_CraftingMenuis in/TACraftwright/Examples/UI(turn on Show Plugin Content in the Content Browser settings). Use it as it is, or duplicate it into your project and restyle it. See Crafting UI. -
Add the HUD tracker. For the HUD tracker, add
WBP_CraftingTrackerto the viewport and call Setup with the crafter, once for the local player:Create Widget (Class: WBP_CraftingTracker, Owning Player: self)→ Setup (Crafter: the Craftwright Crafter)→ Add to ViewportPlayers pin a recipe with the menu’s Track button, and the tracker shows what is still missing for it. The example player controller does this with its Tracker Class. See HUD tracker.
-
Play. Walk up to the workbench (within its Interaction Range, 400 cm by default), open the menu, pick Planks, choose a count and click the craft button. The job appears in the queue, logs leave your inventory, and every 2 seconds 3 planks arrive. Then make a table from the planks. The menu also works with the keyboard and a gamepad: see Keyboard and gamepad.
Next steps
Section titled “Next steps”- Burn fuel at a forge, pull ingredients from chests and keep results in the station: Stations and fuel.
- Teach recipes with scrolls or by crafting, or let players discover them: Unlocks.
- Add lucky crafts and let players salvage what they made: Lucky crafts and Salvage.
- Connect the inventory your game already has: Inventories.
- Save queues and inventories: Save games.
- Check your recipes for broken data and duplication loops: open Tools > ta Craftwright and click Scan project. See Editor tools.